> ## Documentation Index
> Fetch the complete documentation index at: https://mintlify.com/prefix-dev/pixi/llms.txt
> Use this file to discover all available pages before exploring further.
# JupyterLab Integration
> Use JupyterLab with Pixi for interactive computing
JupyterLab works seamlessly with Pixi, providing a powerful environment for interactive computing and data science.
## Basic Setup
```bash theme={null}
pixi init
```
```bash theme={null}
pixi add jupyterlab
```
```bash theme={null}
pixi run jupyter lab
```
JupyterLab will open in your browser, ready to use with all dependencies from your Pixi environment.
A complete example is available in the [Pixi repository](https://github.com/prefix-dev/pixi/tree/main/examples/jupyterlab).
## Adding Scientific Packages
Install additional packages for data science and visualization:
```bash theme={null}
pixi add ipywidgets matplotlib numpy pandas polars scikit-learn seaborn
```
These packages are immediately available in your Jupyter notebooks.
## Available Kernels
JupyterLab supports multiple programming languages through kernels. Install additional kernels from conda-forge:
### Bash Kernel
```bash theme={null}
pixi add bash_kernel
```
[**bash\_kernel**](https://prefix.dev/channels/conda-forge/packages/bash_kernel) - Execute bash commands in notebooks
### C++ Kernels
```bash Modern (xeus-cpp) theme={null}
pixi add xeus-cpp
```
```bash Legacy (xeus-cling) theme={null}
pixi add xeus-cling
```
* [**xeus-cpp**](https://prefix.dev/channels/conda-forge/packages/xeus-cpp) - C++ kernel based on clang-repl
* [**xeus-cling**](https://prefix.dev/channels/conda-forge/packages/xeus-cling) - C++ kernel based on Cling
### Other Language Kernels
```bash Lua theme={null}
pixi add xeus-lua
```
```bash SQL theme={null}
pixi add xeus-sql
```
```bash R theme={null}
pixi add r-irkernel
```
* [**xeus-lua**](https://prefix.dev/channels/conda-forge/packages/xeus-lua) - Lua kernel
* [**xeus-sql**](https://prefix.dev/channels/conda-forge/packages/xeus-sql) - SQL kernel for database queries
* [**r-irkernel**](https://prefix.dev/channels/conda-forge/packages/r-irkernel) - R kernel for statistical computing
## Advanced Usage: Per-Directory Environments
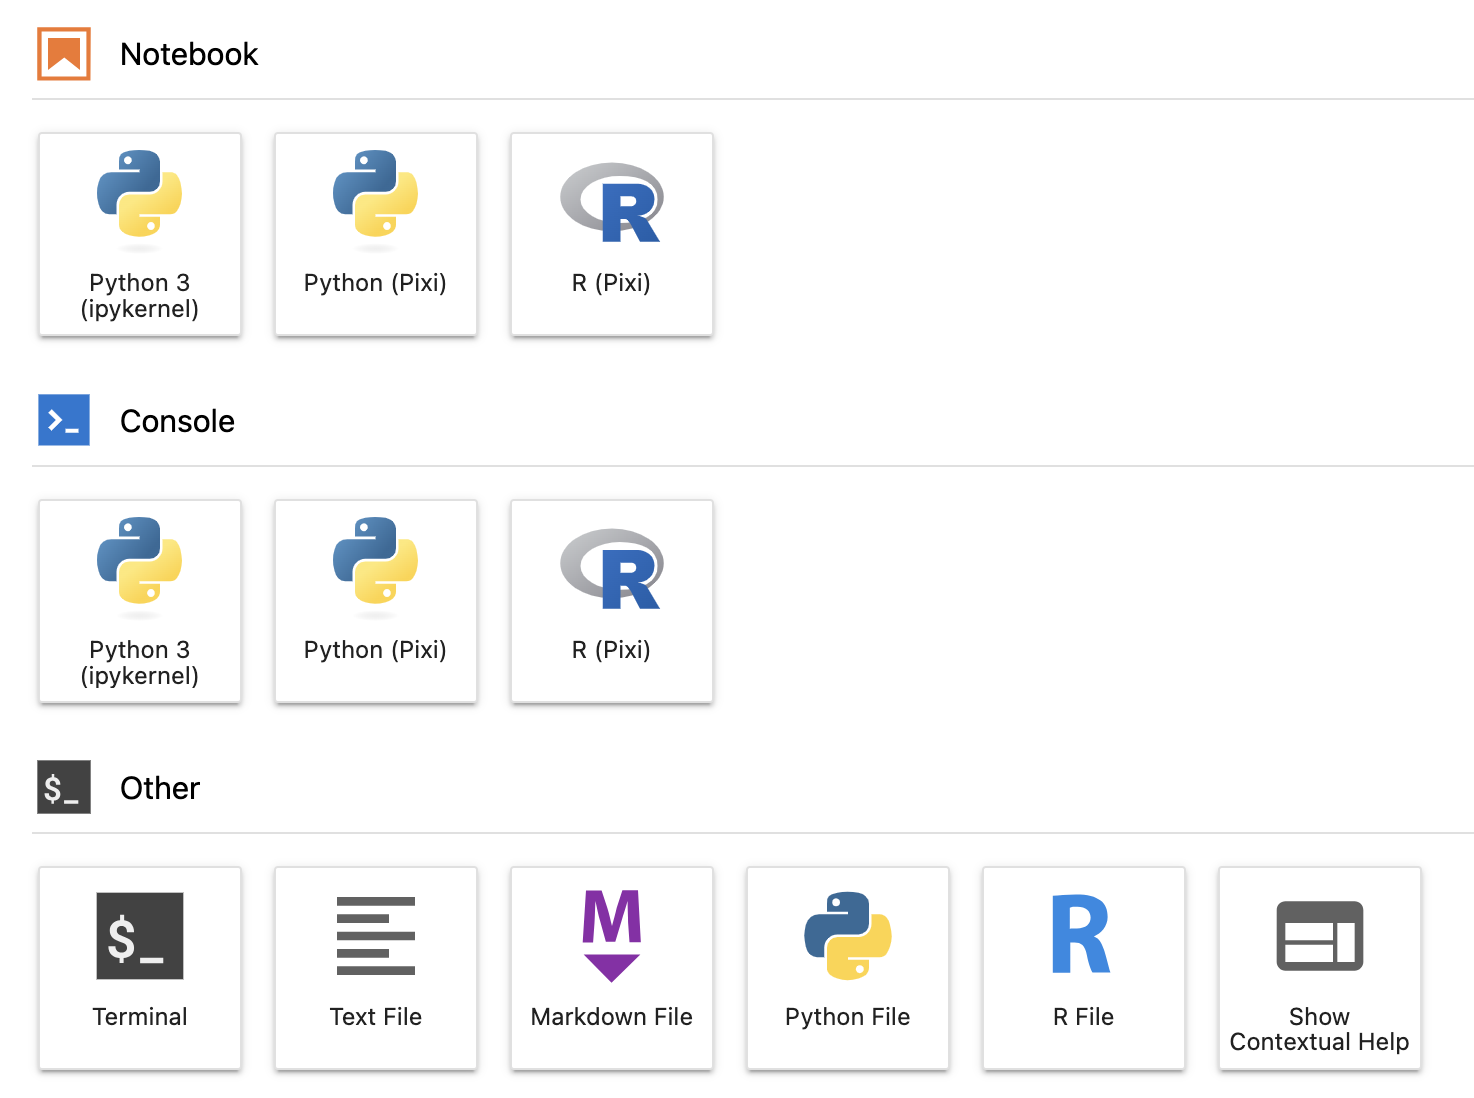
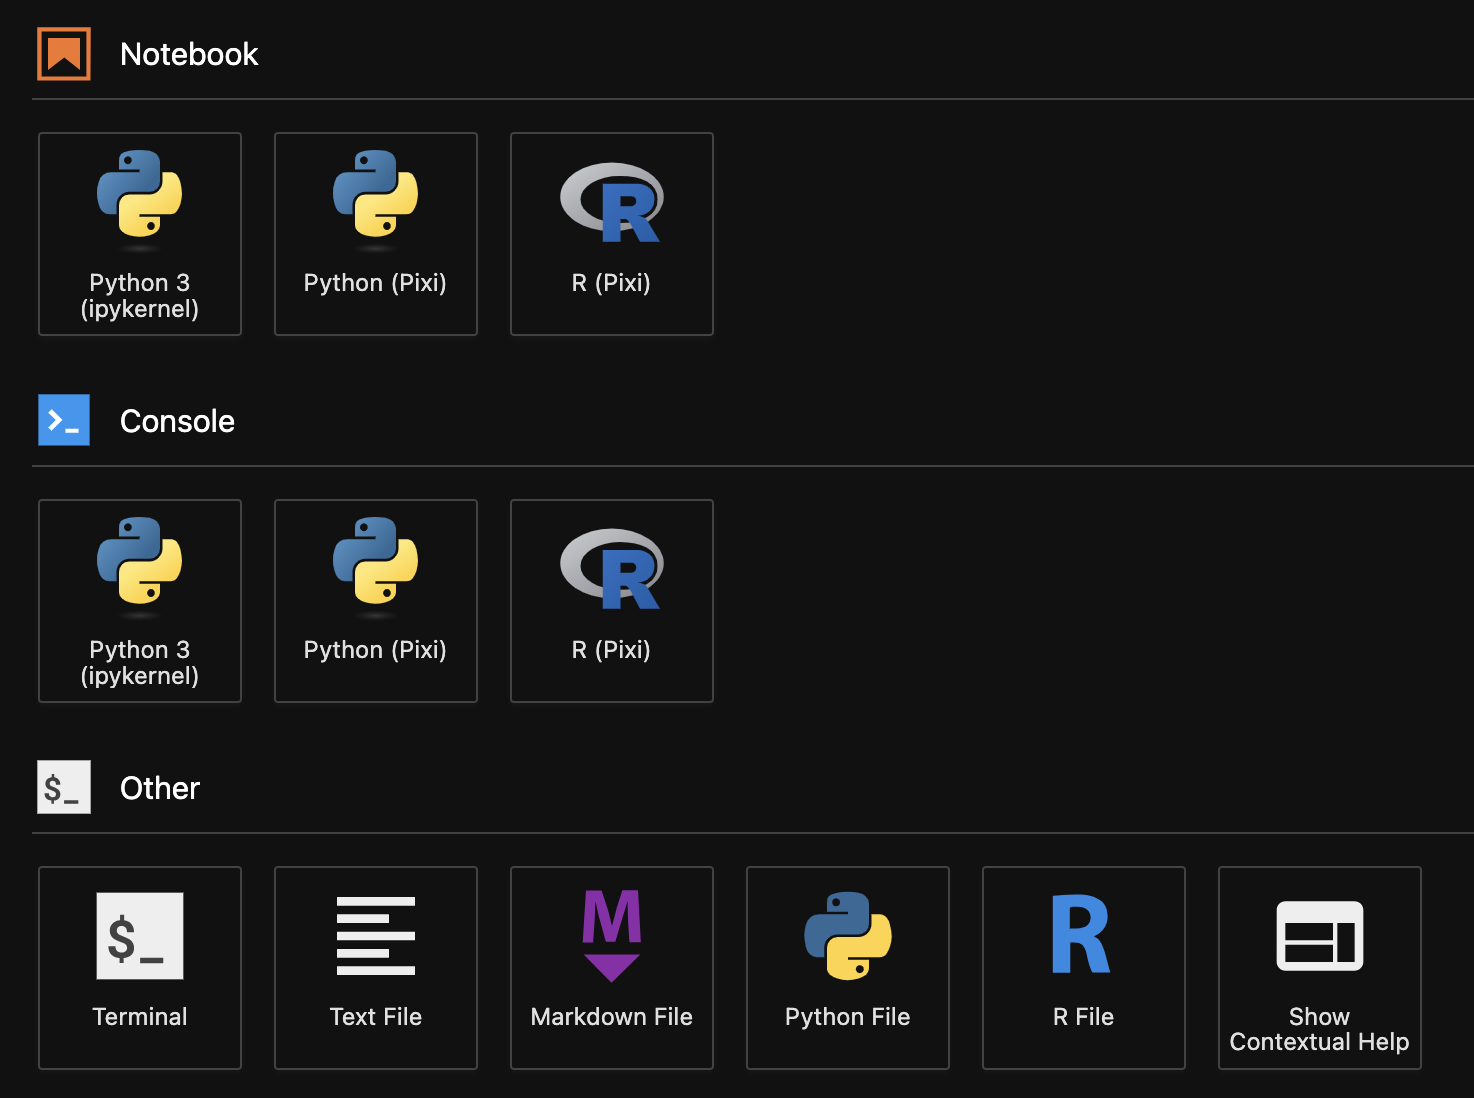
Use [`pixi-kernel`](https://prefix.dev/channels/conda-forge/packages/pixi-kernel) to run a single JupyterLab instance while using different Pixi environments for different notebooks.
### Installation
```bash theme={null}
pixi init
```
```bash theme={null}
pixi add jupyterlab pixi-kernel
```
```bash theme={null}
pixi run jupyter lab
```
### How It Works
`pixi-kernel` automatically searches for a manifest file (`pixi.toml` or `pyproject.toml`) in:
1. The notebook's directory
2. Any parent directory
When found, it uses that environment's dependencies to run the notebook.
### Example Structure
```
project/
├── pixi.toml # Global JupyterLab installation
├── analysis/
│ ├── pixi.toml # Analysis environment (pandas, matplotlib)
│ └── analysis.ipynb # Uses analysis environment
└── ml/
├── pixi.toml # ML environment (scikit-learn, pytorch)
└── model.ipynb # Uses ML environment
```
Each notebook automatically uses its directory's Pixi environment.
## Configuration Examples
### Data Science Environment
```toml pixi.toml theme={null}
[workspace]
name = "data-science"
channels = ["conda-forge"]
platforms = ["linux-64", "osx-arm64", "win-64"]
[dependencies]
jupyterlab = "*"
ipywidgets = "*"
matplotlib = "*"
numpy = "*"
pandas = "*"
seaborn = "*"
scikit-learn = "*"
[tasks]
lab = "jupyter lab"
```
### Multi-Language Environment
```toml pixi.toml theme={null}
[workspace]
name = "multi-lang"
channels = ["conda-forge"]
platforms = ["linux-64"]
[dependencies]
jupyterlab = "*"
bash_kernel = "*"
xeus-cpp = "*"
xeus-sql = "*"
r-irkernel = "*"
python = ">=3.11"
[tasks]
lab = "jupyter lab"
```
### Machine Learning Environment
```toml pixi.toml theme={null}
[workspace]
name = "ml-workspace"
channels = ["conda-forge", "pytorch"]
platforms = ["linux-64"]
[dependencies]
jupyterlab = "*"
ipywidgets = "*"
matplotlib = "*"
numpy = "*"
pandas = "*"
pytorch = "*"
torchvision = "*"
scikit-learn = "*"
tensorboard = "*"
[tasks]
lab = "jupyter lab --no-browser"
tensorboard = "tensorboard --logdir=runs"
```
## JupyterLab Extensions
Install useful JupyterLab extensions:
```bash theme={null}
pixi add jupyterlab-git # Git integration
pixi add jupyterlab-lsp # Language Server Protocol
pixi add python-lsp-server # Python LSP
pixi add jupyterlab-code-formatter # Code formatting
pixi add black # Python formatter
pixi add isort # Import sorting
```
## Best Practices
Commit `pixi.lock` to ensure all collaborators use identical package versions.
Use `pixi-kernel` to isolate project dependencies while sharing JupyterLab.
Use `nbstripout` to remove notebook outputs before committing:
```bash theme={null}
pixi add nbstripout
pixi run nbstripout --install
```
Define tasks in `pixi.toml` for common commands:
```toml theme={null}
[tasks]
lab = "jupyter lab"
notebook = "jupyter notebook"
```
## Working with Remote Servers
Run JupyterLab on a remote server and connect from your local machine:
### On Remote Server
```bash theme={null}
pixi run jupyter lab --no-browser --port=8888
```
### On Local Machine
```bash theme={null}
ssh -N -L 8888:localhost:8888 user@remote-server
```
Open `http://localhost:8888` in your local browser.
## Jupyter Notebook vs JupyterLab
Both interfaces work with Pixi:
```bash JupyterLab (Recommended) theme={null}
pixi add jupyterlab
pixi run jupyter lab
```
```bash Jupyter Notebook theme={null}
pixi add notebook
pixi run jupyter notebook
```
JupyterLab offers a more modern interface with better extension support.
## Troubleshooting
### Kernel Not Found
Ensure the kernel package is installed:
```bash theme={null}
pixi list # Check installed packages
pixi add bash_kernel # Install missing kernel
```
Restart JupyterLab after adding kernels.
### Import Errors
Verify the package is in your Pixi environment:
```bash theme={null}
pixi list | grep package-name
pixi add package-name # If missing
```
### Port Already in Use
Specify a different port:
```bash theme={null}
pixi run jupyter lab --port=8889
```
### pixi-kernel Not Working
Check that a `pixi.toml` or `pyproject.toml` exists in the notebook's directory or a parent directory.
## Additional Resources
* [JupyterLab Documentation](https://jupyterlab.readthedocs.io/)
* [pixi-kernel Repository](https://github.com/renan-r-santos/pixi-kernel)
* [pixi-kernel Binder Example](https://github.com/renan-r-santos/pixi-kernel-binder)
* [Jupyter Kernels](https://github.com/jupyter/jupyter/wiki/Jupyter-kernels)